My New Year’s Resolution…
… is to get more organized and declutter our place a bit. My sewing accessories have been laying about in at least three different rooms – some of them even down in the basement! – and this is a serious stumbling block when I plan to get started with some new project. Great about that resolution, however, is that last year’s christmas project made me start early:
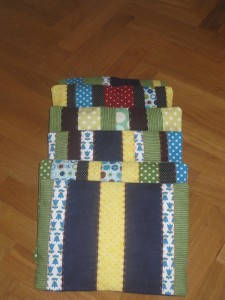
I’ve decided to use up some of my fabric leftovers in small (patched) spelt cushions. Thus, to begin with, I had to browse through everything I had on hand and I took the chance to iron and fold my belongings. They even ended in my new designated spot for fabric leftovers – how crazy is that?
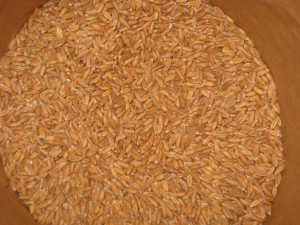
Back to the christmas project, though: In Germany heat cushions are a popular gift for little children. They’re usually filled with cherry pits and can be heated in a microwave, an oven or on a radiator. I had read about spelt being a possible substitute for cherry pits and I liked the idea of a grain filling. I decided to order 5 kg of organic spelt. (talking about leftovers… does anyone need spelt? or another spelt cushion, for that matter?)
I decided to go for a two-part cushion – an inlet for the spelt and a washable cover.
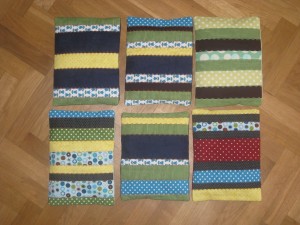
Having sorted out the fabric, I simply cut stripes of different widths and added them together to form rectangles of about 6 by 8 inches. I added some thin cotton backing and plain white cotton, „quilted“ that using some of my machine’s fancy stitches along the seems and added a non-patched back. I intended to leave it at a flap closure but had to add one button for stability. I made the button face down to prevent it from disturbing by sticking out.
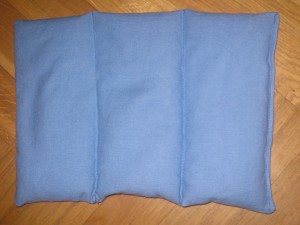
For the inlets I cut up an old, yet unused, cotton sheet my mother happened to have lying around. I closed three seems of the inlet first, then added one third of the spelt and made a seem to keep it in the first third of the inlet, repeated that and closed the inlet after the last portion of spelt. The inlets are not washable, since the spelt would soak up the water and start to mold.
It didn’t take much more than two days (and half a night) to make them and here they are in all their glory:
Unfortunately, I forgot to take pictures of the backsides… but I guess you get the picture nonetheless!
A happy New Year to all readers!
Katrin


