Introducing the latest addition to our family …

Emma1

… sweet Emma!

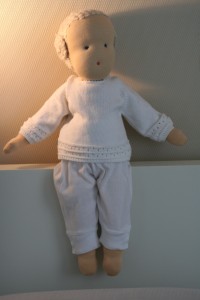
My daughter recently turned one. Since she has an older brother, she is equipped with all the items that make lovely birthday presents like rocking horses, LEGO blocks, regular building blocks, push carts and so forth. She also has loving friends and family near and far providing her with clothes, books and lovely wooden puzzle footstools (THANK you all so much for thinking of her!) Given that, finding a special present for our very special girl was rather tough until I stumbled across Waldorf dolls. They are made entirely from wool and cotton, they don’t show any facial expression and thus leave a lot of room for imagination. Best of all, however, making them didn’t seem all that complicated.

Well, thanks to these instructions and this book which I found at the library and my husband who kept me from throwing it all away, the doll originally intended to be of yet unknown sex and name (for my daughter to decide) actually turned out to be a girl called Emma.

Emma2

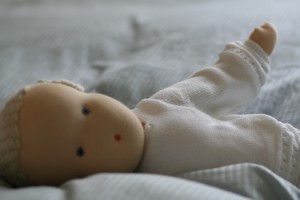
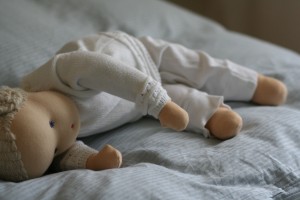
The doll does have a lot of flaws, of course, her head and limbs are too loose and she does look a little strange without clothes. On the other hand, this is the first doll I ever made and I’ve put a lot of love and effort into it. After being quite unhappy with the outcome these lovely pictures (courtesy of my talented sister Elke) completely reconciled me with having decided to make this. What I love most is the way the doll’s face and hair turned out. For the hair I used some hand-spun wool I’ve been given by my grandmother years ago – I suppose it could well be about 50 years old by now.

Emma3

By the way, since I didn’t have enough time left to make some garments for her, Emma is wearing real baby clothes (her trousers are way too wide, though).

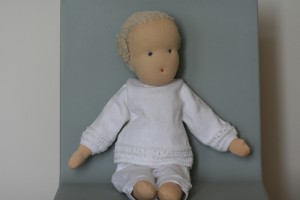
Come to think of it, I am insanely proud of the birthday gift I made for my daughter, so please don’t judge me for posting yet another picture:

Emma4

Thanks for taking a look!

Katrin

2009 christmas project leaving one question…

… what am I going to do next year? Or maybe I’ll abandon the concept of an every-year christmas project altogether, since it really is rather time consuming – we’ll see.

Now, to this last year’s project without further delay:

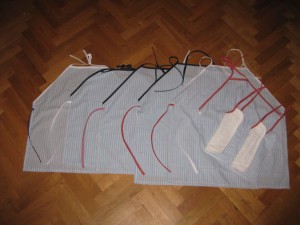
aprons

And yes, these are aprons (and two bibs for the smaller girls). I sent them out a little early to give the kids a chance to use them during all that pre-christmas baking. As I did with these hats the year before, I tried to make each apron a little different from the others by way of bias binding.

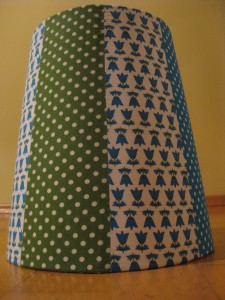
Now, I’m just throwing an IKEA-lampshade I covered in the mix before I’m done for today – it’s now hanging in our nursery.

lampshade

So much for sewing today. Now a little thinking-out-loud: Not only am I asking my self whether I should abandon some projects but also whether I should stop blogging – it feels like talking into thin air without anyone noticing… So if you’re reading this, let me know and comment!

Katrin


I admit…

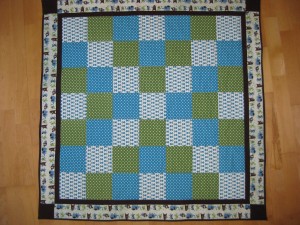
… that shortly after having been so proud of my no-fabric-buying-involved projects I went on a shopping spree. Here’s how that came about: I’ve recently been to Berlin where I stayed with my cousin. She told me that there was a fabric store nereby – and I knew of their online store: http://www.frautulpe.de/, so of course I had to go there. Then I entered the store and loved it and decided I needed to by something. I ended up with green and blue dotted fabrics and some tulips and the craziest fabric featuring dancing animals. I also threw in some cotton batting and added a little brown fabric at home – here’s the result:

baby blanket

baby blanket

And now, this has become my new favourite project – wonder how long this will last.

Bye,

Katrin


Fall is here and so are …

HATS!

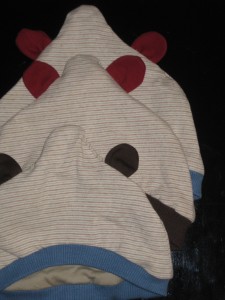
– including a new edition of last year’s christmas project – and possibly the last because by now, the fabric is all gone. I had to make the lining of two of the hats from different fabric already:

Baby hats with "ears"

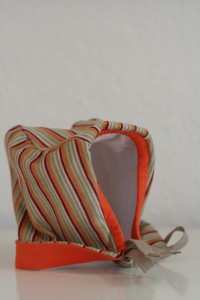
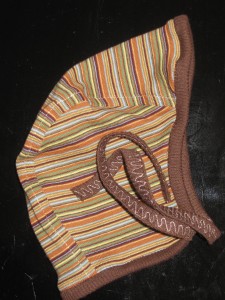
– also a variation of my daughter’s christening bonnet, this time without cathedral windows and made from baby corduroy lined with orange cotton:

Baby bonnet

– and a tiny bonnet for a little baby boy:

IMG_1811

And the best thing about all these? I did not buy one inch of fabric for them. I just used what I had left over from previous projects and I love the fact that I haven’t kept all this in vain!

Have a great week,

Katrin


Christening clothes

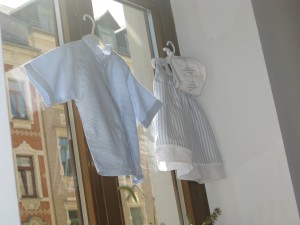
My daughter was christened lately, and of course, this was the perfect occasion to make something a little more festve for her. I decided againsta traditional christening gown, though, and adapted a rather easy dress-pattern from ottobre design. I added some length, an extra musselin-layer and a little rickrack. I also wanted to make a bonnet for her and searched forever for a pattern until I stumbled upon a book called „Patchwork for Baby“ in the library, which featured a christening gown and bonnet – perfect! I adapted the pattern, using rickrack again, but kept the beautiful cathedral windows from the original. It was my first try on that particular type of patchwork – I love the way it turned out, though:

kleid

The blue-and-white fabric is a mixture of kapok and cotton – beautifully light and soft. And since my son has not nearly profitted enough from his mother’s sewing, I made a shirt for him from very similar fabric, only differently patterned:

IMG_1688

Hope you like these!

Katrin

PS: Hats up next…


Red and white

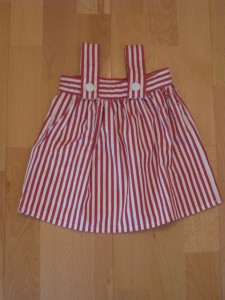
This is going to be real short: needing something for a newborn girl I decided to make a skirt using one my daughter used to wear as a pattern. I found lovely striped fabric in red and white at IKEA and ended up using old-fashioned linen buttons, too:

red-and-white skirt

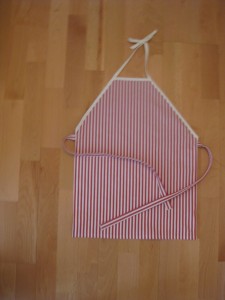
From the fabric I had left I made another apron for a friend of my son’s celebrating her birthday. I made the bias binding from some white fabric out of the ever-growing pile of leftovers:

Apron

And, this last weekend I finally made a shirt from Ottobre design’s summer 2008 pattern – it’s a trial version, though, besides neither being red nor white and I’ll postpone posting pictures until I’m done with the final one!

Stay tuned,

Katrin


Again, silent for too long

Well, apologizing for not blogging seems to become a habit of mine – maybe I should just update a little more often. But, even though I’ve been lazy blog-wise, I’ve done some serious sewing! Have a look:

Baby girl's clothes

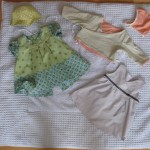
Should you now think that these are presents for yet another newborn in my acquaintance you’re only partly right: They are, in fact, for my own little girl! Once I found out that I was having a girl I looked at all the Ottobre design magazines from a completely different point of view, all those LOVELY dresses! I’ve made a little reversible jacket and one bonnet from each of those fabrics (I couldn’t find a pattern though, so I had to take apart an old bonnet I had to find out how to do this and I promise to upload my sketches and instructions as soon as I manage to scan them.) I also had some fabric leftover from the blanket I made earlier and I made a dress which I hope will still fit for the christening.

Since we’ve been invited to a wedding I tried to make a dress for myself (and failed). That’s why I ended up buying a grey dress and making a jacket to go with it. That achieved I couldn’t help going for a mother-daughter combination (I promise I won’t do that too often, though) and made a nice little dress from the same fabric. You just have to love the fact that my machine can actually sew those little stars.

So long,

Katrin


Not to blog …

… just doesn’t have to mean not to sew, either. I just realized that my last entry dates from before CHRISTMAS and of course, I’ve made a couple of presents myself. Admittedly, though, one of the meant-to-be Christmas presents took longer to come into being – I finished it today. But, first things first:

bonnets

I found a bonnet pattern in ottobredesign and figured it would be nice to make one for my son and one for each of the little ones of friends of mine. I ended up using the same fabric for all, just changing the colour of the little „ears“ and the binding. Having all of these hanging up was actually quite a nice sight! I did manage to send them out at Christmas, too.

I also made a log-cabin sofa cushion for my sister and her husband but forgot to take a picture – so I can’t show it here rigth now.

Then, well after Christmas, a friend of my son’s became a big brother – so I made a little dress for the baby girl – the pattern is also from ottobredesign (for which, by the way, I’ve been given a one-year subscription for my birthday by my ever so thoughtful sister, thank you!):

Baby dress

I used some fabric I had left over from another project and orange quilting fabric for the lining and the buttons.

Then there was mardi gras – a day for kids (and some grown-ups, too) to dress up and make believe. Since my little boy is always eager to cook (make-belief and for real) it was pretty clear that to turn him into a chef would be nice. Of course, I’d never even thought about how to make a chef’s hat, but I did find a pattern. I had to adapt it’s size which took some math (remember how you calculate circumferences? It’s all about Ï€!) I also made an apron – just slightly adapting this pattern (in German, though). I added a piece of binding to hold a wooden spoon or some other fitting tool. Anyway – here’s what the little chef looked like, don’t hate me for obscuring his face, please (he’s just not able yet to give his informed consent to having his picture published.)

Chef’s hat and apron

And now, at last, the missing Christmas project: my husband’s cousin (can you say cousin in law?) had a baby girl in October and I had planned at first to make a dress for the baby. Then I made the aforementioned sofa cushion and it was done so quickly that it make me think of making a blanket for the baby. I spent hours at my favourite fabric store online, the „Traumwerkstatt“ to find just the right fabric. I figured I’d go for large log-cabin blocks but then decided to keep it simple and cut squares. I assembled them on the floor to figure out which order to put them in:

Squares

When I’d attached all of them to each other I figured that some kind of a „frame“ would be nice and  went to a quilting-utensils store here in town and had a nice talk with the owners as well as two very nice ladies who were there for fabric shopping and project-showing (one of them had made the most amazing hexagon quilt – I’ve never seen anything quite like that before!) during which we figured out the fabrics to be used for my „frame“. I finished the blanket today (just in time as we were meeting my cousin-in-law today, too) and here’s what it looks like:

Baby blanket - back side

vorn.JPG

That said, I guess I’ve posted just about all of my recent projects – there are more to come, though, for sure! So, come back and see for yourself,

Katrin


Quite some time ago …

… long before I would have called sewing or crafting a serious hobby, I already liked to custom-make presents. That might actually be a long-term side effect of spending many hours in day-care as a little kid, where we’d always have been crafting something and make presents for parents and grandparents on any possible (and impossible) occasion.

Now that you know this little fact about me, it cannot come as a surprise to you that when it came to planning my wedding, there had to be something in it for our guests that was specifically me (or us). The first thing occurring to me, of course, was designing our own invitations – but then we came across beautiful cards which we spent hours imprinting instead of crafting. Next thought? Place cards, naturally! Place cards… well … did they have to be cards? I also wanted to give wedding favours to our guests, and I’d read about an Italian tradition – to give five sugar-covered almonds away in a bag. Now, I don’t like sugar-covered almonds very much and the colours at our wedding were going to be light greens and lots of white and there is the Bonbonmacherei in Berlin making oh so lovely and delicious candies from old recipes on old machines (if you’ve ever been there, you’ll never forget that wonderful smell! If you haven’t and you’ve got a chance to, go!), yes, it had to be theire green may-leaves. Since they also look beautiful putting them in a box was no option – they were supposed to be showcased, not hidden away! So I decided on making tulle-bags to put the candy in, closing the bags with white ribbons. It was a tiny step from there to coming up with the idea that these could also serve as our very unique place cards and I embroidered each guest’s first name on their bag. We ended up additionally posting a seating chart to avoid confusion. So, I embroidered all these names, and basically I just used the tulle’s structure and weaved the thread through it – so you can’t really call it embroidery. Sometimes during the process I hated myself for having come up with this idea but I did love the way the little wedding favour place cards looked on the tables. Most guests took their’s home, so I’m inclined to believing that day liked it, too. Here are two pictures of what they looked like:

wedding favour

wedding favour 2

Another quite old project that I’ve been wanting to post here for a while is a quilt I’ve made for my sister. I’ve spent 6 weeks in Alabama in 2003, where I’ve found very nice friends. During that time at their house I really got to like the idea of quilts and I thought how wonderful it would be to be able to make one myself. So, back home, I bought a book describing the technique and presenting me with a couple of designs. I chose one involving log-cabin blocks, spent hours in the fabric store to get the colours I liked and started working. During the process I ended up buying a cutting bord, a ruler and a rotary cutter – all of which I had deemed unnecessary at the beginning. Then I cut squares and stripes for weeks and assembled them to blocks and those to rows. At christmas – when I’d planned to have the quilt ready, my sister found half the quilt top in her box. I think she got the entire quilt around easter…

Although, when you look closely, there are many imperfections, but I still like the way this first (and so far only) quilting project turned out:

Quilt, upper part

and the other half:

Quilt, lower part

Hope you like it, too!

Katrin


As promised – something new!

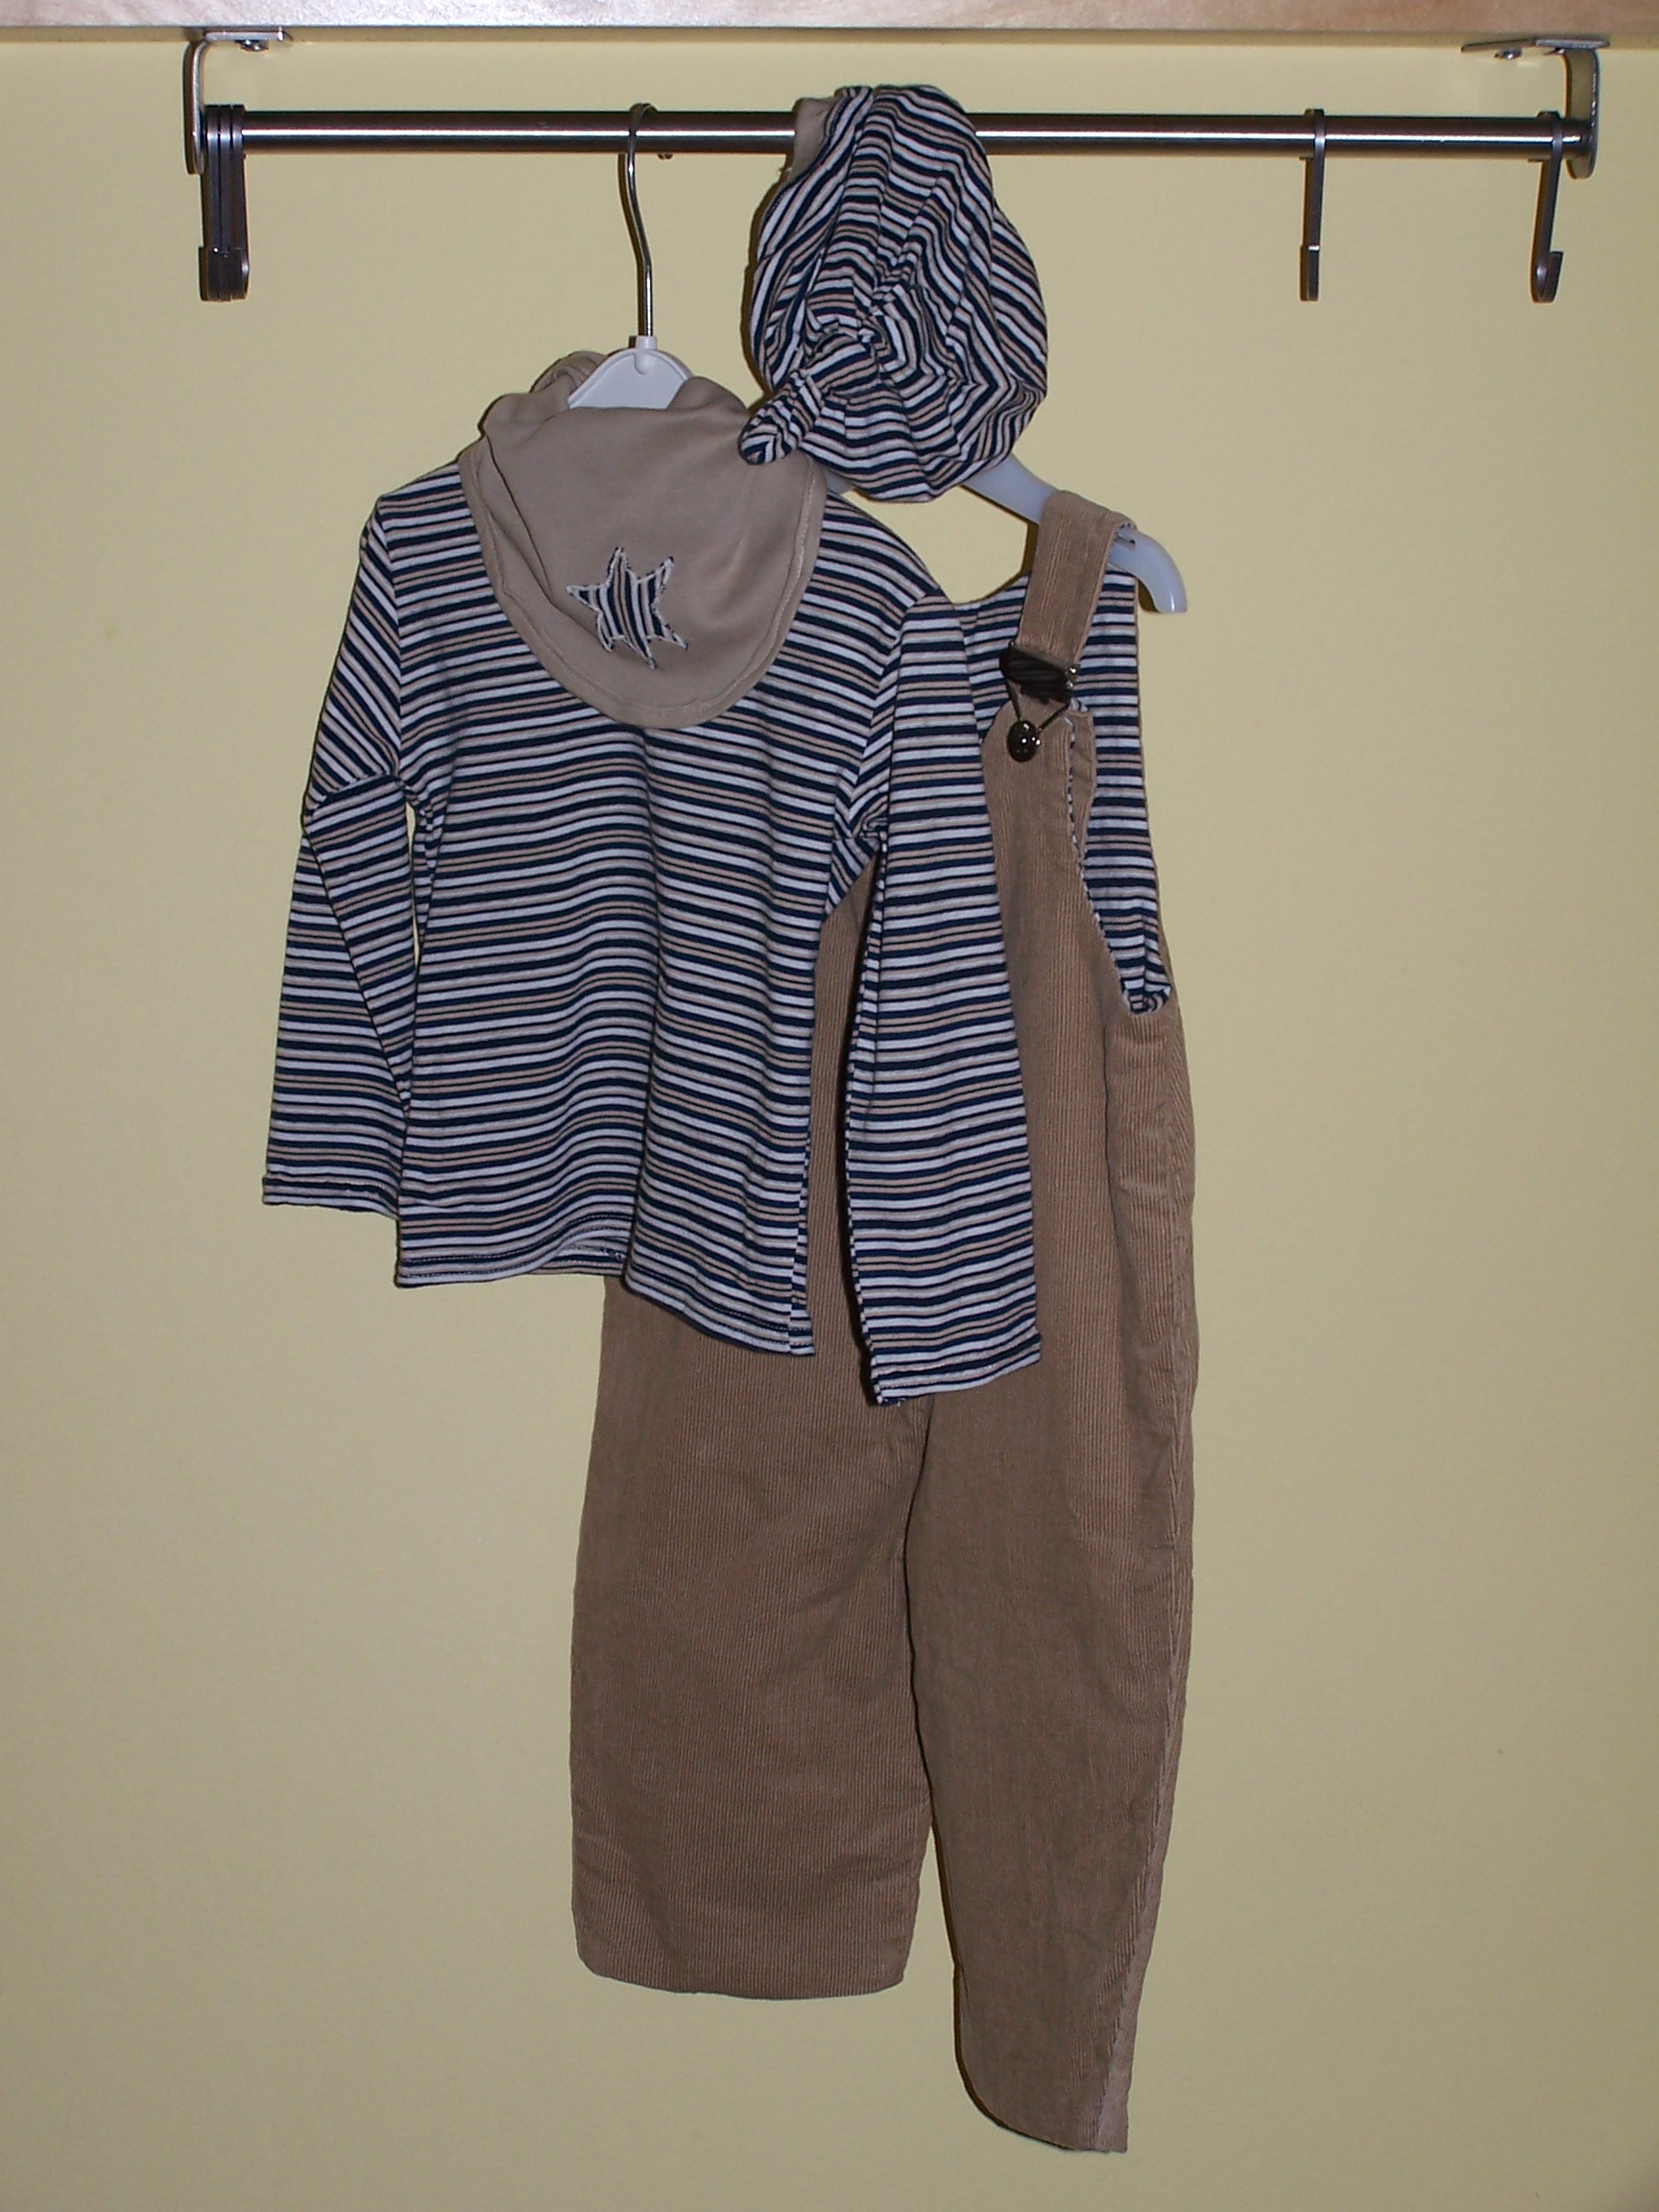
I just want to post pictures of the first complete outfit I’ve made so far – a shirt, trousers, cap and bandana for a little boy. Except for the bandana, all these are from different ottobre design patterns, I loved the cap at first glance, it’s so easy to make and yet stylish with its knot. I decided to make the trousers nicer to wear by lining them completely with striped jersey fabric and using Prym’s overall set instead of two buttons, which makes the straps more easily adjustable and saved me the trouble of sewing buttonholes. With the shirt, I did exactly what the pattern told me to. Here’s the complete set:

Outfit

Hope you enjoyed it,

Katrin