Archives: 20. Juni 2011

A second and yet a first…

… as in birthday present and ikea-hack! Come to think of it, there has been a lamp shade a while back, but let’s not count beans, agreed?

Anyway, for my little girl’s (she’s not all that little anymore – include mother’s sigh here, please) second birthday I took this:

Ikea Poang Kindersessel

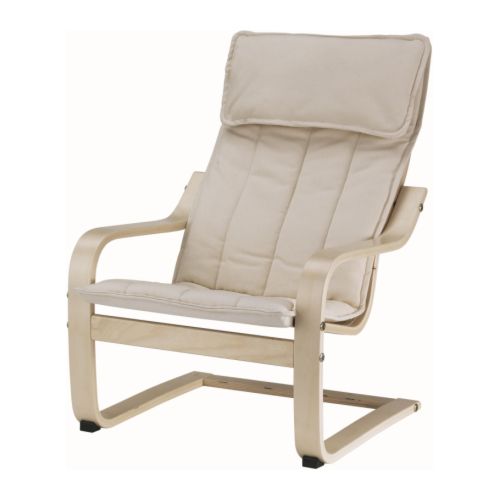
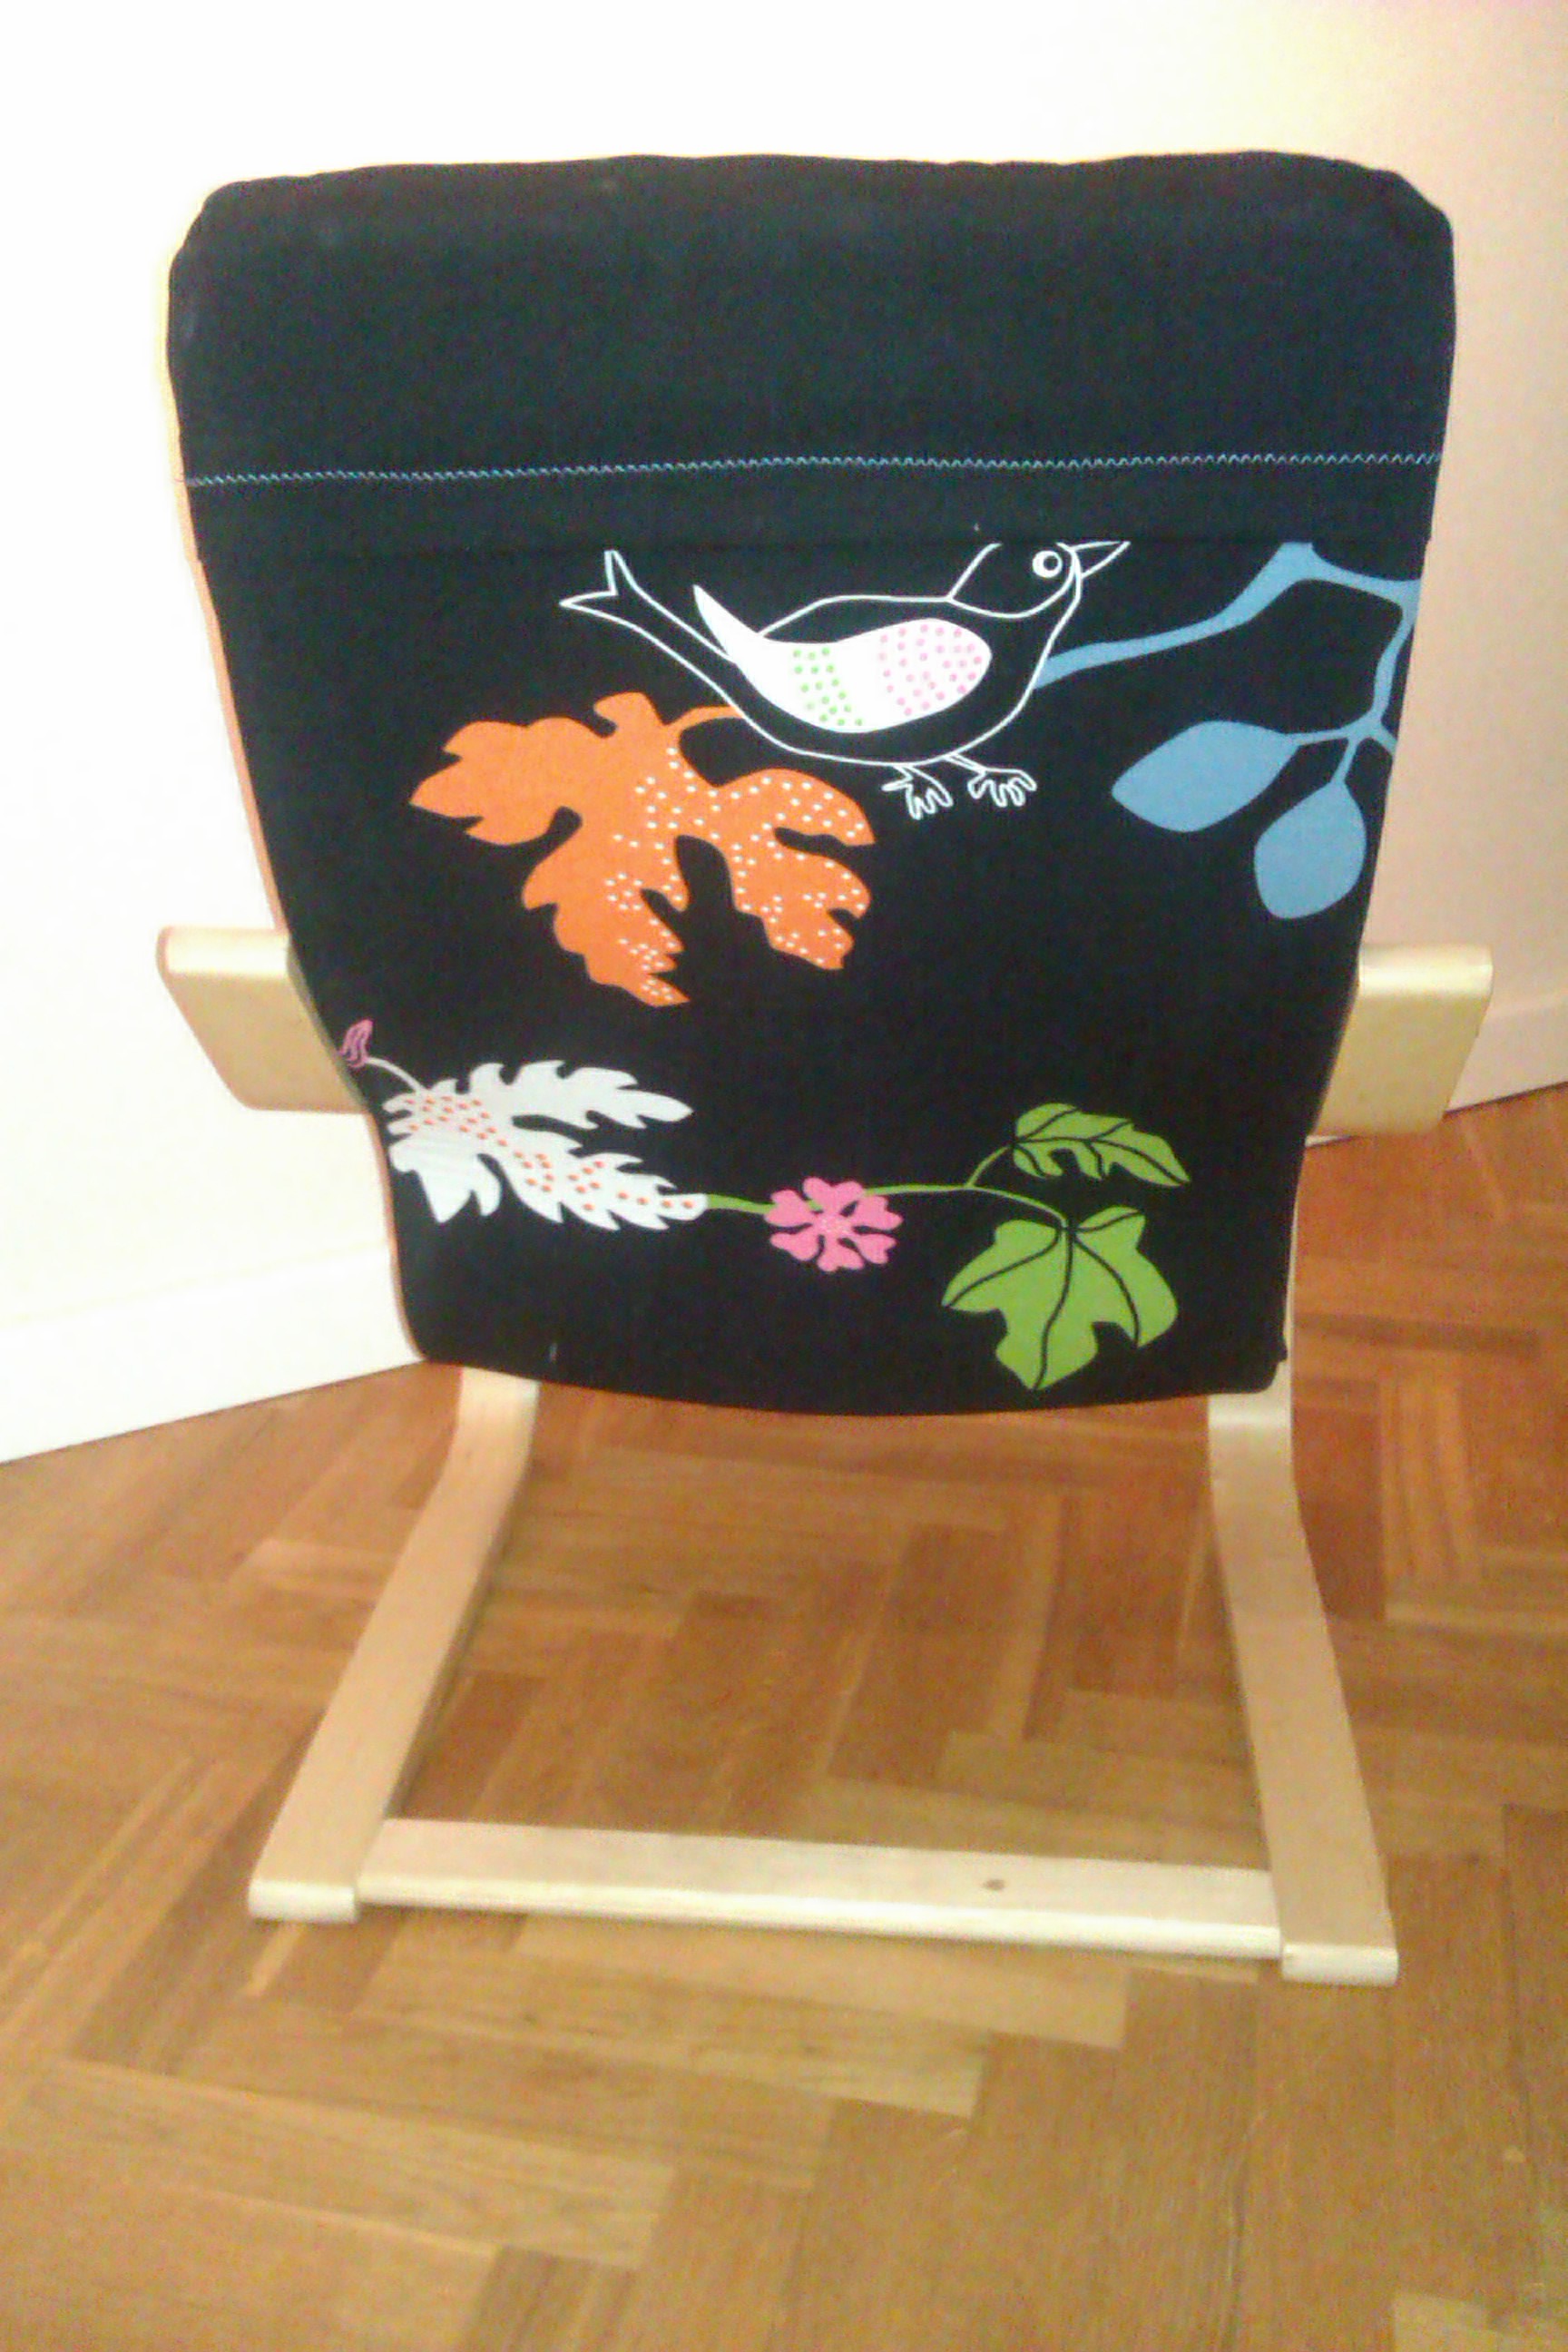
and turned it into this:

Poang enhanced 1

The entire project was pretty straight forward: I took the chairs slipcover (the part you can easily take off and wash) apart and used part of it to make my new version. I skipped the little head cushion – I think it gets in the way of the chair’s otherwise clear lines – and since my daughter isn’t that tall, her head wouldn’t reach up to it anyway.

I originally intended to leave the chairs supporting fabric as it was, but then didn’t like the plain beige polyethylene. So I used that as a template and made a similar version from the cotton fabric I’d also picked up at Ikea. This will probably be a lot less durable but I figured I can just exchange it when it gets worn. I wouldn’t do this with an adult’s chair, though, for safety reasons. I love the chairs backside the way it looks now:

Poang enhanced 2

What do you think?

Have a great summer!

Katrin


Mix together a pillow…

… and an approved technique, and this is what you get:

Pillow

It’s a pillow for a little girl with her name applied. I have applied names before to little shopping bags – never to pillow cases, though. And I decided to take the chance and try something new: Instead of forming the name letter by letter, I made a template using a handwriting font (called GinoSchoolSkript). I typed the name in a very large scale, then exported it to .pdf, imported that to GIMP and selected the entire text by colour. GIMP has a tool to enlarge the selection, which I did (here’s to my husband who has all these amazing computer skills). That done, all I had to do was print out my mirrored template, trace it onto the paper backing of a Heat ’n Bond sheet and fuse that to the back of the polka dot fabric I wanted to use for the applique. I cut out the letters, removed the paper backing and fused the first letter and the rest of the name to the front of the pillow case and zig-zagged around it.

I got the idea for the little ladybug from here and made it from plain brown and red polka dot fabric.

What I am particularily proud of, though, is the back side:

Pillow back

The pillow case has a covered zipper. To be able to add the orange edging, I sewed it between the my backside and a small strip of fabric and then folded that over. Sewing a covered zipper is dead easy, actually, and it makes for such a clean look – love it! You should be able to get zippers for pillow cases and such by the yard in most fabric stores.

Sewing the pillow together wasn’t much of a challenge, I added the edging on the sides just like I did on the zipper.

I like the way the lettering came out; I think it’s perfect for a little girl – playful, yet a little elegant.

Have a great weekend!

Katrin

PS: Sorry for not posting my daughter’s birthday present – didn’t get around to take pictures yet.